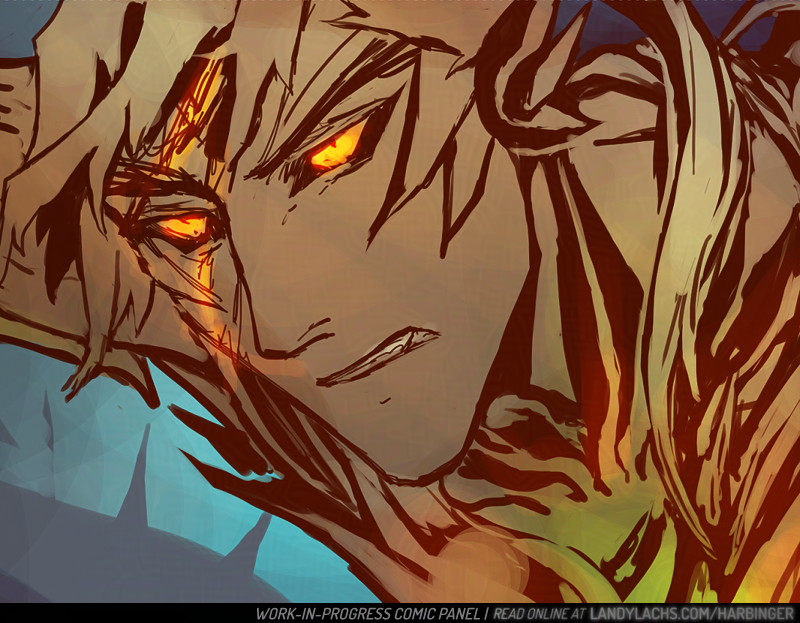
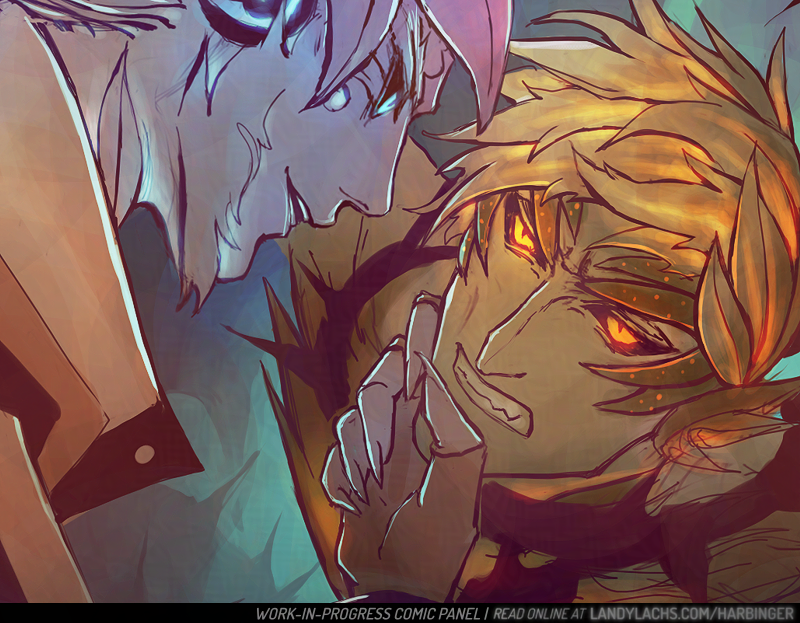
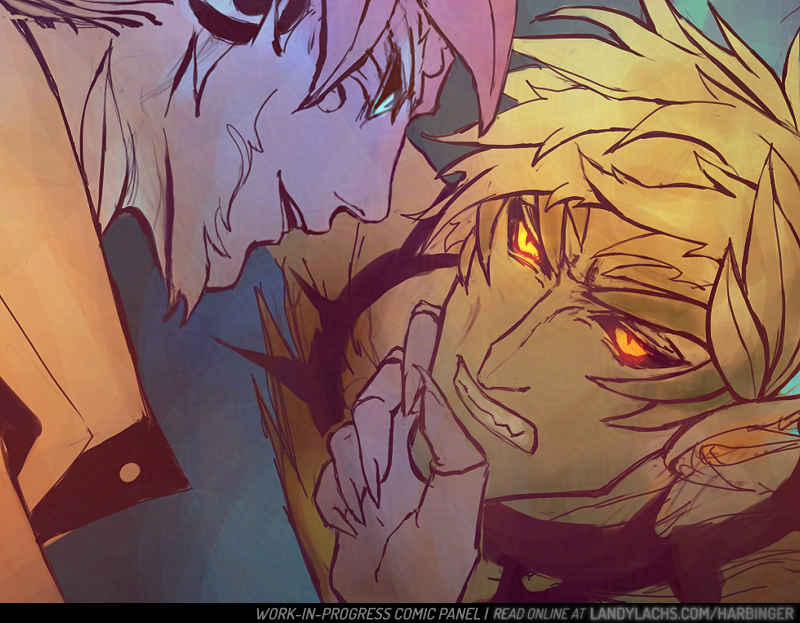
This page went through a number of changes and deliberations while I worked on it, and I wanted to share some of the process and thoughts that went into it.
First, some process steps below! The first 2 are fairly early on in the process, though further along than the “layout” step (which are barely above stick figures). This page’s ideation started with heavy silhouetting. When I initially drafted the layout for this page, Malyck was the only panel on it for a while. I went between leaving the rest of the page with negative space – either empty or filled with black – or with an establishing shot or something involving Trahearne to fill the space.


My aim was that this part of the page should convey some time has passed since the final scene in Chapter 1.
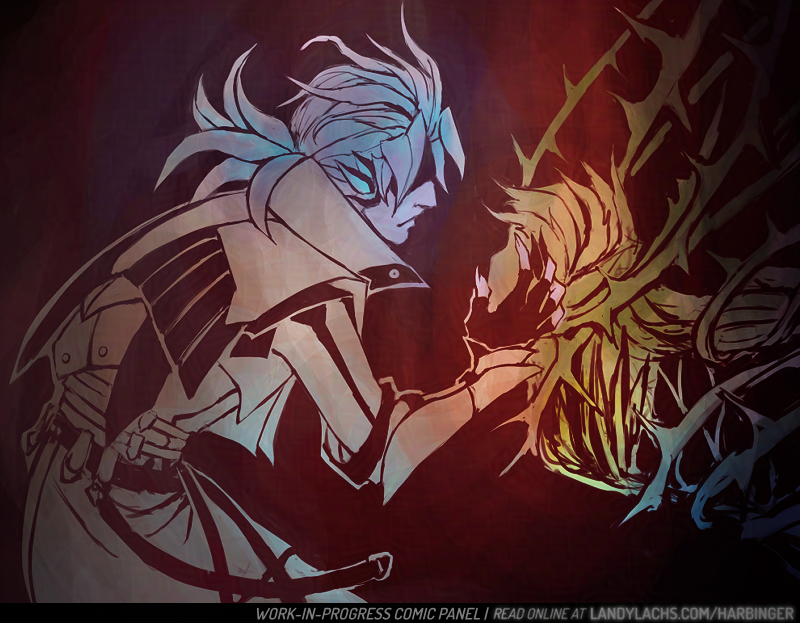
I wasn’t decided initially, and left the rest of the page blank and went on to do the rest of Chapter 2’s layouts. When I came back to this page later on, the idea to show Trahearne most appealed to me. It would work both to reorient ourselves with where our main character is now, as well as also serve as a bit of an establishing shot. My hope is this would also convey how the previous page is a memory – though whether by Trahearne, Malyck, or someone else, is left to interpretation.
My other dilemma with this page involved Trahearne himself. It was important to me to convey his sense of desperation, but also his strength and resolve. The clawing vines are a visual representation of his capture, but I didn’t want to only represent his imprisonment – I want to represent his strength of will. The main question became, should I represent this visually, or through internal thoughts?


To thought balloon or not to thought balloon
This is an interesting question. My understanding is, displaying internal thoughts for characters is a bit more archaic (at least in western comics). It was very commonplace in the old Stan Lee and Jack Kirby Marvel comics (which of the few I’ve read, I quite adore). I personally really loved the style of those old comics – including the thought balloons. I don’t know if that’s a controversial or unpopular opinion or not, among comic fans today (I am woefully out of the loop). My understanding is this has fallen out of favor with modern comics (at least, again, with more western ones). The preference being to represent character thoughts externally, through visuals, instead of through thought balloons.
I admire this aspiration. There is incredible merit to it. My favorite webcomic, Unsounded by Ashley Cope (which has, incidentally, just launched the pre-campaign on Kickstarter for the Iron Circus Comics publication of volumes 1 & 2 – which you should very definitely consider checking out & giving the campaign a follow!), adheres to this methodology. I believe I read it in an interview Ashley gave many years ago (or it might have also been a reply to someone on Tumblr), where she explained more about her reasoning behind this. I’m going to paraphrase (forgive me), but the general sentiment I took away from it is that, if you forgo thought balloons, it very often results in much more visually interesting, impactful pages.
For me, the easiest example to show are pages 16 and 17 from Unsounded’s first chapter. It makes more sense in-context if you read from the beginning of the chapter (which I highly recommend!), but even so, these pages are excellent examples about visually representing the internal turmoil within a character’s thoughts and mind, without any use of thought balloons. I love these pages because of how well the concept is executed here. From what I recall (and again, forgive me if I’m misremembering), Ashley is such a strong proponent of this, that I think she has mentioned before that she doesn’t use thought balloons anywhere in Unsounded – which currently sits at over 2,000+ pages in length! A mightily impressive feat, if you ask me.

Now, all that said and all my praise for this methodology – why did I decide to use thought balloons, in the end? I also used them in The Harbinger’s Path’s first chapter, also for Trahearne. I’m sorry to say I don’t have a deep reasoning for my decision other than – despite both my awareness and admiration (and enjoyment!) for eschewing thought balloons – it’s a personal preference that I also highly enjoy them. If I had to guess, I think it may be because I grew up reading comics that used them a lot. I read mostly Japanese manga, which makes liberal use of thought balloons (at least, in the ones I read). I enjoy how it can make the character feel closer to the reader, or more intimate. It is true it’s an “easier” technique – it is far more ambitious to represent a character’s thoughts visually, and it is something I would like to attempt in the future. However, I do also think it is a more advanced way of making comics.
So! With my comic project being a “pilot” project of sorts for helping me learn how to make comics in general – combined with how I personally love the intimacy thought balloons can add – I decided to make use of them in The Harbinger’s Path. Maybe this will change in future pages, but for now, I think this was the right choice for me, and for the pages so far.